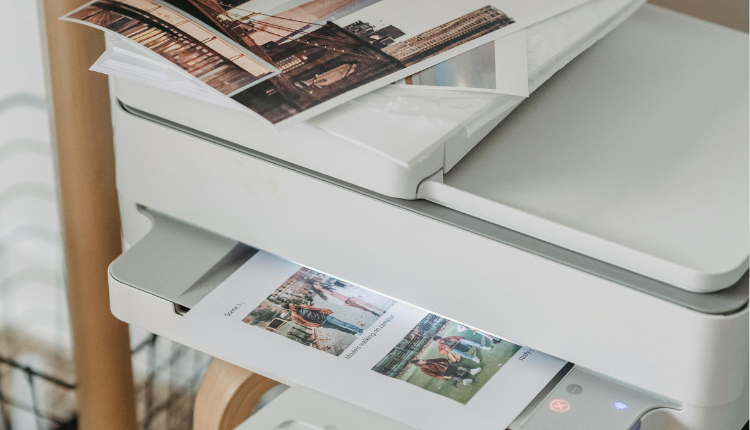
Printers are essential tools for both home and office use, but if you’re new to using one, the process can seem a bit daunting. Whether you’re printing documents, photos, or important reports, this step-by-step guide will walk you through everything you need to know—from setup to troubleshooting. How to Use a Printer – Step-by-Step Guide
Step 1: Unbox and Set Up Your Printer
Begin by carefully unboxing your printer, removing all protective tapes, foam, and shipping locks to ensure proper functionality. Place the printer on a stable, flat surface near a power outlet, then connect the power cable and turn it on. Install the ink or toner cartridges as directed in the manual
—aligning them correctly to avoid leaks or errors. Next, adjust the paper tray guides to fit your preferred paper size and load a stack of sheets, being careful not to overfill. Many modern printers will initiate a self-calibration process upon startup; allow this to complete before proceeding to ensure optimal print quality. Taking these steps methodically will set a solid foundation for seamless printing.
Step 2: Connect the Printer to Your Computer or Network
Establishing a reliable connection is crucial for seamless printing—choose between a direct wired link or wireless convenience based on your needs. For a stable wired connection, simply plug a USB cable from the printer to your computer; most modern operating systems will automatically detect the device.
If opting for wireless functionality, access your printer’s control panel to select your Wi-Fi network and enter credentials, or use WPS for a quicker setup. Alternatively, temporarily connect via USB to configure wireless settings through the printer software. Once connected, verify the printer appears in your system’s device list to confirm it’s ready for use. This step ensures effortless printing from any authorized device on your network.
Step 3: Install Printer Drivers
To unlock your printer’s full functionality, installing the correct drivers is essential. Begin by inserting the manufacturer’s installation disc or downloading the latest driver package from their official support website—ensuring compatibility with your operating system. Run the installer and follow the guided setup, which typically includes connecting your printer when prompted.
For plug-and-play USB models, your system may automatically install basic drivers, but for advanced features like duplex printing or ink monitoring, the full software suite is recommended. Once installed, restart your computer to finalize the configuration, then verify successful installation by printing a test page. This critical step bridges the gap between hardware and software, transforming your printer from a peripheral into a precision tool.
Step 4: Print a Document or Photo
With your printer fully configured, you’re ready to execute flawless prints. Open your desired file—whether a crisp PDF, polished presentation, or high-resolution photo—and navigate to File > Print (or press Ctrl/Cmd + P) to access the print dialog. Carefully select your printer from the dropdown menu, then refine settings such as paper type, print quality,
and layout to match your project requirements. For professional results, preview the document to catch any formatting issues before committing to paper. When satisfied, click Print and observe as your printer transforms digital content into tangible excellence. This final step represents the culmination of your preparation—where precision meets execution.
Step 5: Troubleshooting Common Issues
Even with meticulous setup, occasional hiccups may arise—prompt resolution ensures uninterrupted productivity. Begin by consulting your printer’s display panel or software dashboard for error codes; these diagnostic cues often pinpoint issues like paper jams, low ink levels,
or connectivity disruptions. For print quality concerns such as streaks or fading, run the built-in head-cleaning utility or realign cartridges via your printer’s maintenance menu. Should wireless printing falter, power-cycle both printer and router,
then re-establish the network connection. Persistent hardware errors may necessitate firmware updates or manufacturer support—always verify you’re using approved consumables to avoid compatibility conflicts. Mastering these troubleshooting techniques transforms frustration into efficient problem-solving, maintaining your printer’s peak performance.

