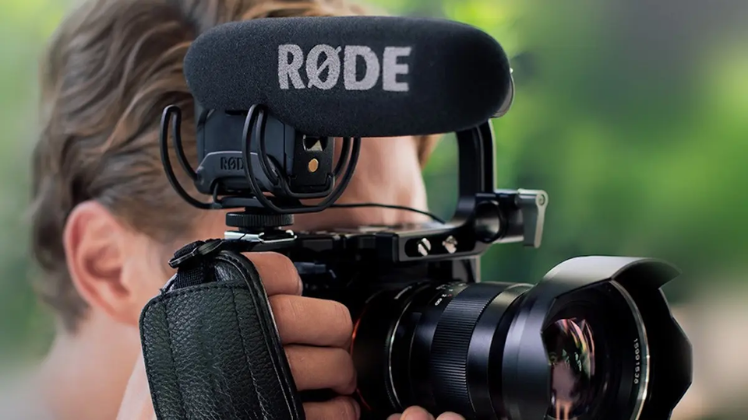
If you’re a professional photographer, you might notice that more clients are asking if you can also do video during photo shoots. Video can be a new challenge, but it also offers great opportunities. Most modern DSLRs can shoot good quality video,
which you can use for corporate events, sales presentations, training materials, and YouTube promotions. This means you can expand your services by adding video.
Shooting video with a DSLR can be trickier than taking photos, but you can get great results by following some simple tips. You don’t need to spend a lot of money to start; you can make some small investments to begin video production.
If you’re a consumer thinking about buying a DSLR to replace your camcorder for family events, it’s better to stick with a camcorder for that purpose. While I focus on using a Nikon DSLR, the advice here applies to any brand of DSLR.
1) Is your DSLR the right choice for the video job?
This is the first question to ask before taking on any video project. Generally, if you need to film people moving around, like at a wedding, a professional video camera is a better option. DSLRs often have slow and noisy autofocus, which can be distracting in your video.
They also lack power zoom, making zooming in and out difficult. Plus, DSLRs usually can’t record long videos (over 30 minutes) in one go, so they’re not ideal for projects that need long, continuous clips.
Video projects that work well with your DSLR are those where you can film subjects with clear backgrounds.
2) Choosing a frame size and frame rate
Your DSLR camera offers different frame sizes and frame rates. Most clients I’ve worked with prefer the 1920 x 1080 frame size, with either 24 fps or 30 fps. This setup captures great detail and looks professional on big screens or during presentations.
If you plan to add camera movement to your videos (which I’ll explain later), I suggest shooting at 30 fps because it makes the motion look smoother than at 24 fps. If your camera can shoot 1920 x 1080 at 60 fps, that’s even better, but it will use up memory cards quickly and make editing take longer due to larger file sizes. 4K video is becoming popular, so keep an eye out for this feature in future DSLR cameras.
3) Matching shutter speed and frame rate
To create smooth and natural-looking video, you need to match your shutter speed with your frame rate. Use a shutter speed of 1/50th for 24 fps, 1/60th for 30 fps, or 1/125th for 60 fps. You can also change your shutter speed for creative effects. Slower shutter speeds add blur and make the video look softer or dreamy, while faster speeds create a sharper or more frantic feel. Moving the camera while using these speeds can enhance these effects. For most corporate videos, a standard shutter speed and frame rate match is used.
Many people associate DSLR cameras with stunning still photography. However, these versatile devices can also capture high-quality videos. The combination of advanced sensors and interchangeable lenses makes DSLRs a popular choice for videographers. In this blog post, we will explore the capabilities of DSLR cameras in video production. We’ll discuss their strengths, features, and some tips for achieving cinematic results. Get ready to unlock the full potential of your DSLR for video! Can DSLR Cameras Shoot High Quality Videos as well?

